
Halloween desserts should feel special without turning your kitchen into a full-blown crime scene. You want treats that look creepy-cute, taste amazing, and don’t require a pastry degree or three hours of free time. The kind of desserts and cookies that make kids squeal and adults quietly go back for “just one more.”
These 10 spooky Halloween desserts and cookies hit that sweet spot. Some are no-bake. Some use store-bought shortcuts. All of them look like you planned for days when you actually threw them together between costume fittings. I’ve made every single one for parties, classroom events, and one very crowded adult Halloween night where the witch finger cookies vanished before the playlist even hit the second song.
Ready to become the person whose dessert table people still talk about in November?
1. Spiderweb Fudge Brownies
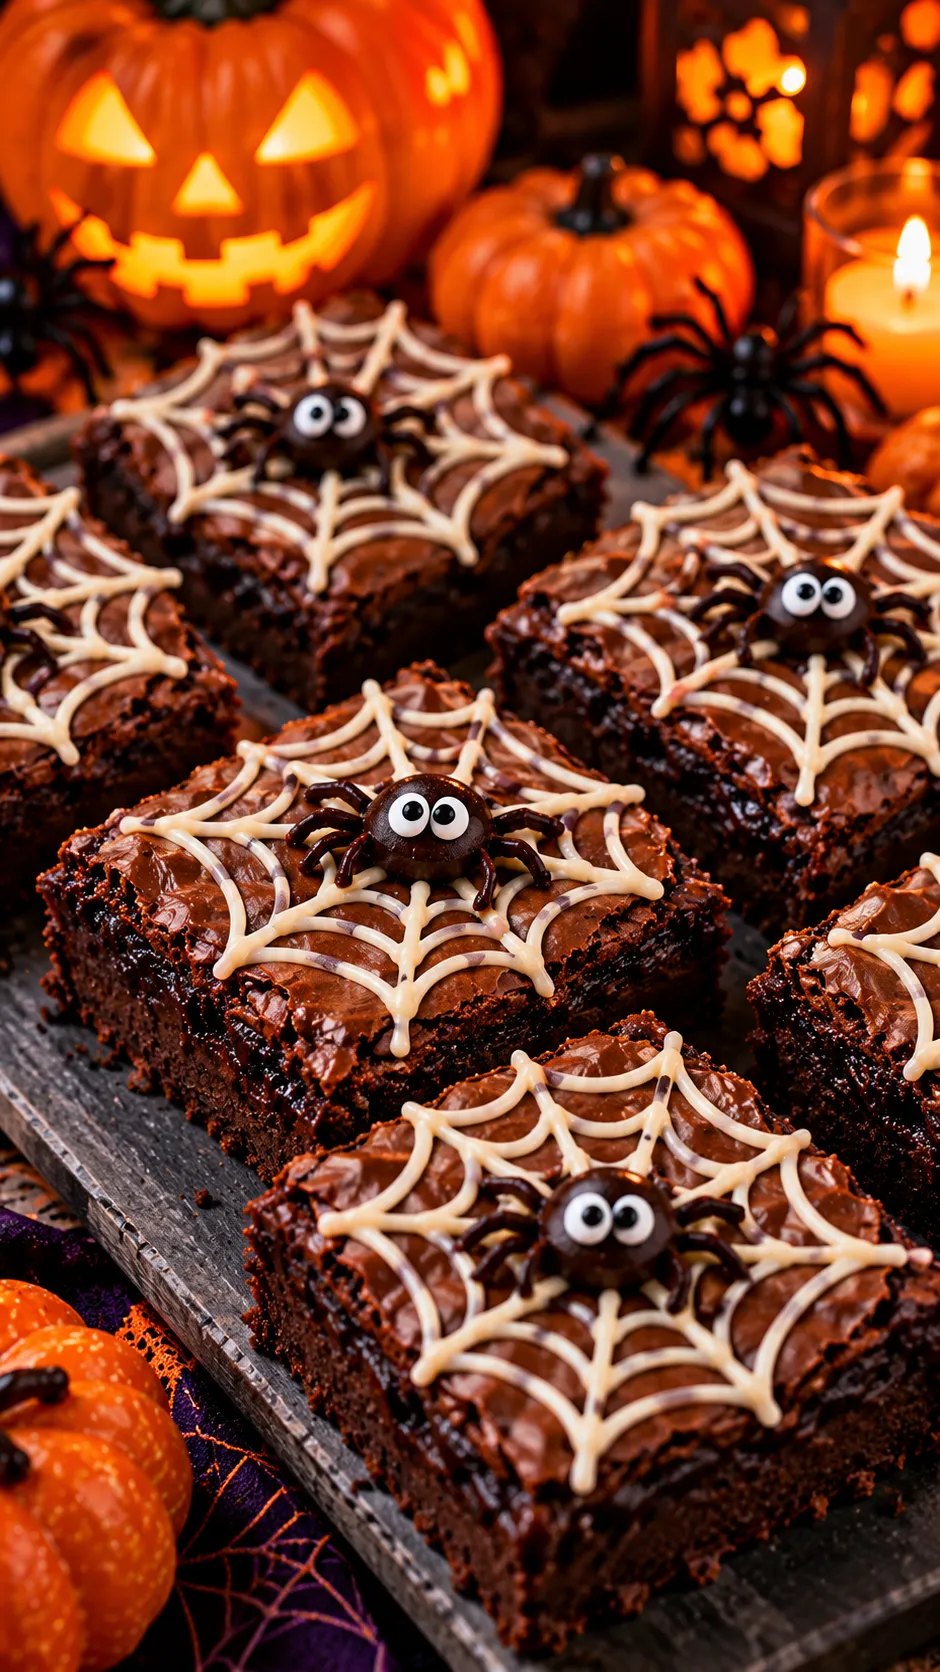
These brownies look bakery-level but start with a box. I once brought them to a last-minute potluck and three different people asked if I’d ordered them. Nope. Just me, a microwave, and zero shame.
Ingredients
- 1 box fudge brownie mix (plus eggs, oil, and water as directed)
- 1 cup white chocolate chips
- 1 tablespoon coconut oil
- Black gel food coloring or black decorating gel
- Mini chocolate chips or candy eyes for spiders
Step-by-Step Instructions
- Bake the brownies according to the package but pull them out two minutes early so they stay fudgy. Cool completely in the pan.
- Melt the white chocolate chips with coconut oil in 20-second microwave bursts, stirring until smooth.
- Spoon the melted chocolate into a zip-top bag, snip a tiny corner, and pipe concentric circles across the brownies.
- Drag a toothpick from the center outward to create the web. Drop a few mini chocolate chips or candy eyes on top for spiders.
- Chill 15 minutes so the chocolate sets, then slice and serve.
Why You’ll Love It?
They taste like regular brownies (because they are) but look pure Halloween magic. The web design forgives messy lines—everything still looks intentional. These disappear faster than free candy.
2. Ghost Meringue Cookies
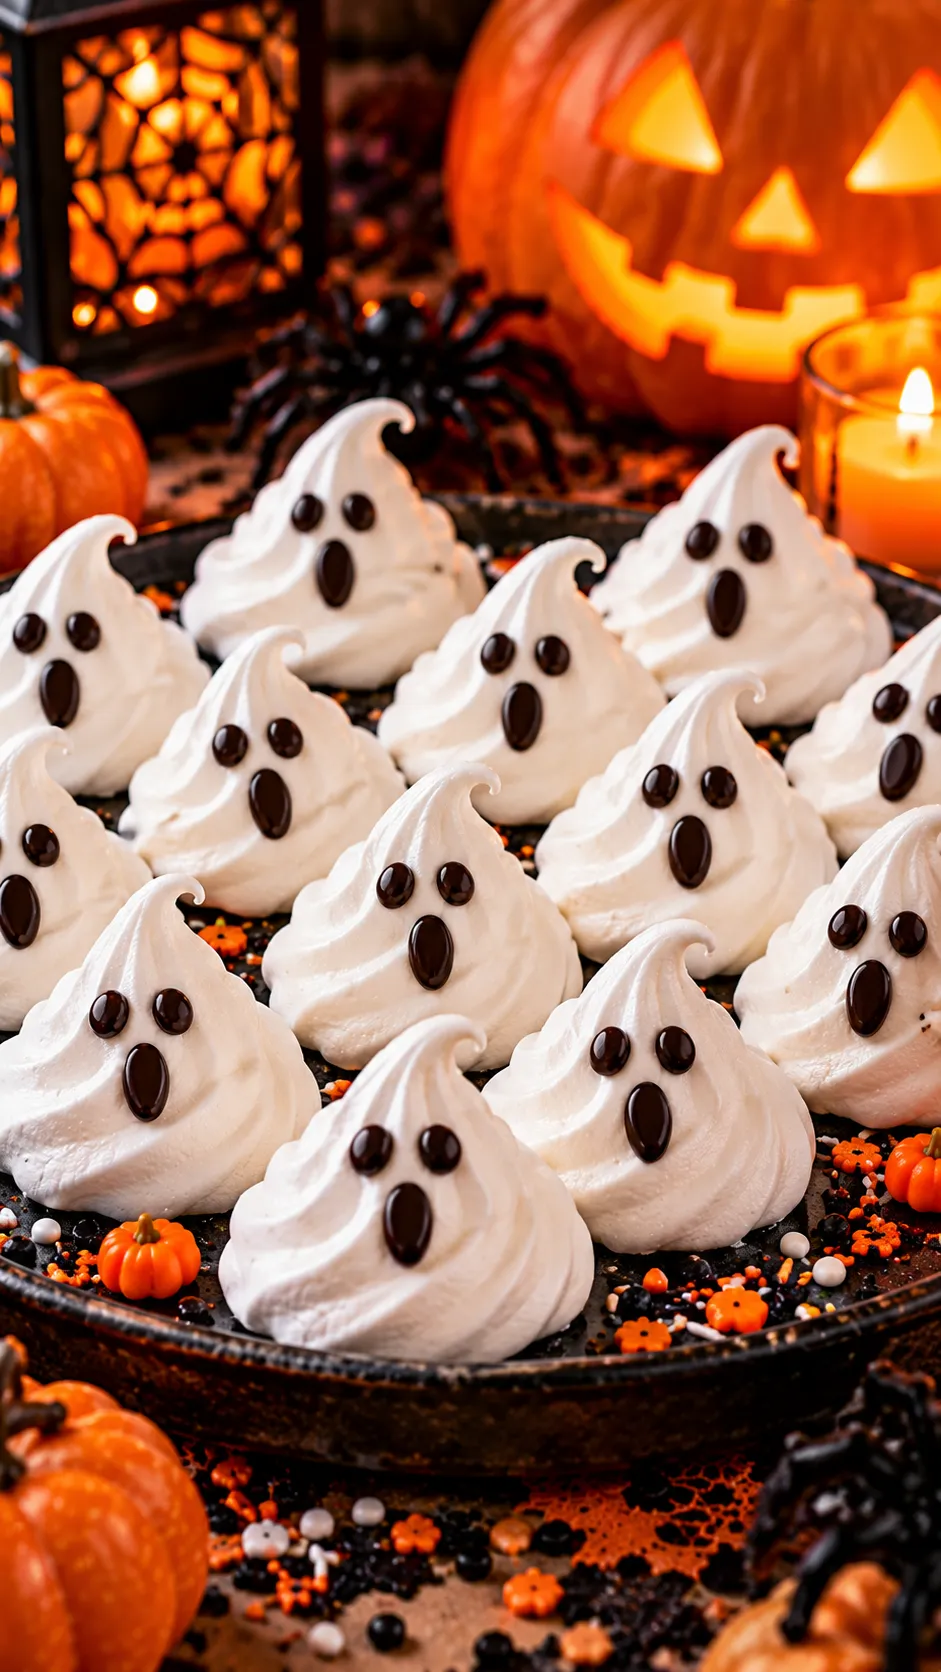
Crispy, melt-in-your-mouth ghosts that look adorable and use almost no ingredients. I started making these when I needed something light after all the chocolate. One batch later the kids were arguing over who got the “cutest” face.
Ingredients
- 3 large egg whites, room temperature
- ¾ cup granulated sugar
- ½ teaspoon vanilla extract
- Pinch of cream of tartar
- Mini chocolate chips or black decorating gel for eyes and mouths
Step-by-Step Instructions
- Preheat oven to 225°F and line two baking sheets with parchment.
- Beat the egg whites and cream of tartar until soft peaks form. Gradually add the sugar while beating until stiff, glossy peaks appear. Mix in vanilla.
- Spoon or pipe the meringue into tall ghost shapes on the sheets.
- Bake 1 hour, then turn off the oven and let them sit inside for another hour to dry completely.
- Add two mini chocolate chips for eyes and a tiny curved line for the mouth once cool.
Why You’ll Love It?
They’re naturally gluten-free, light as air, and somehow still feel festive. The low-and-slow bake means you can set them and forget them. Perfect when you want a treat that doesn’t weigh everyone down.
3. Witch Finger Cookies
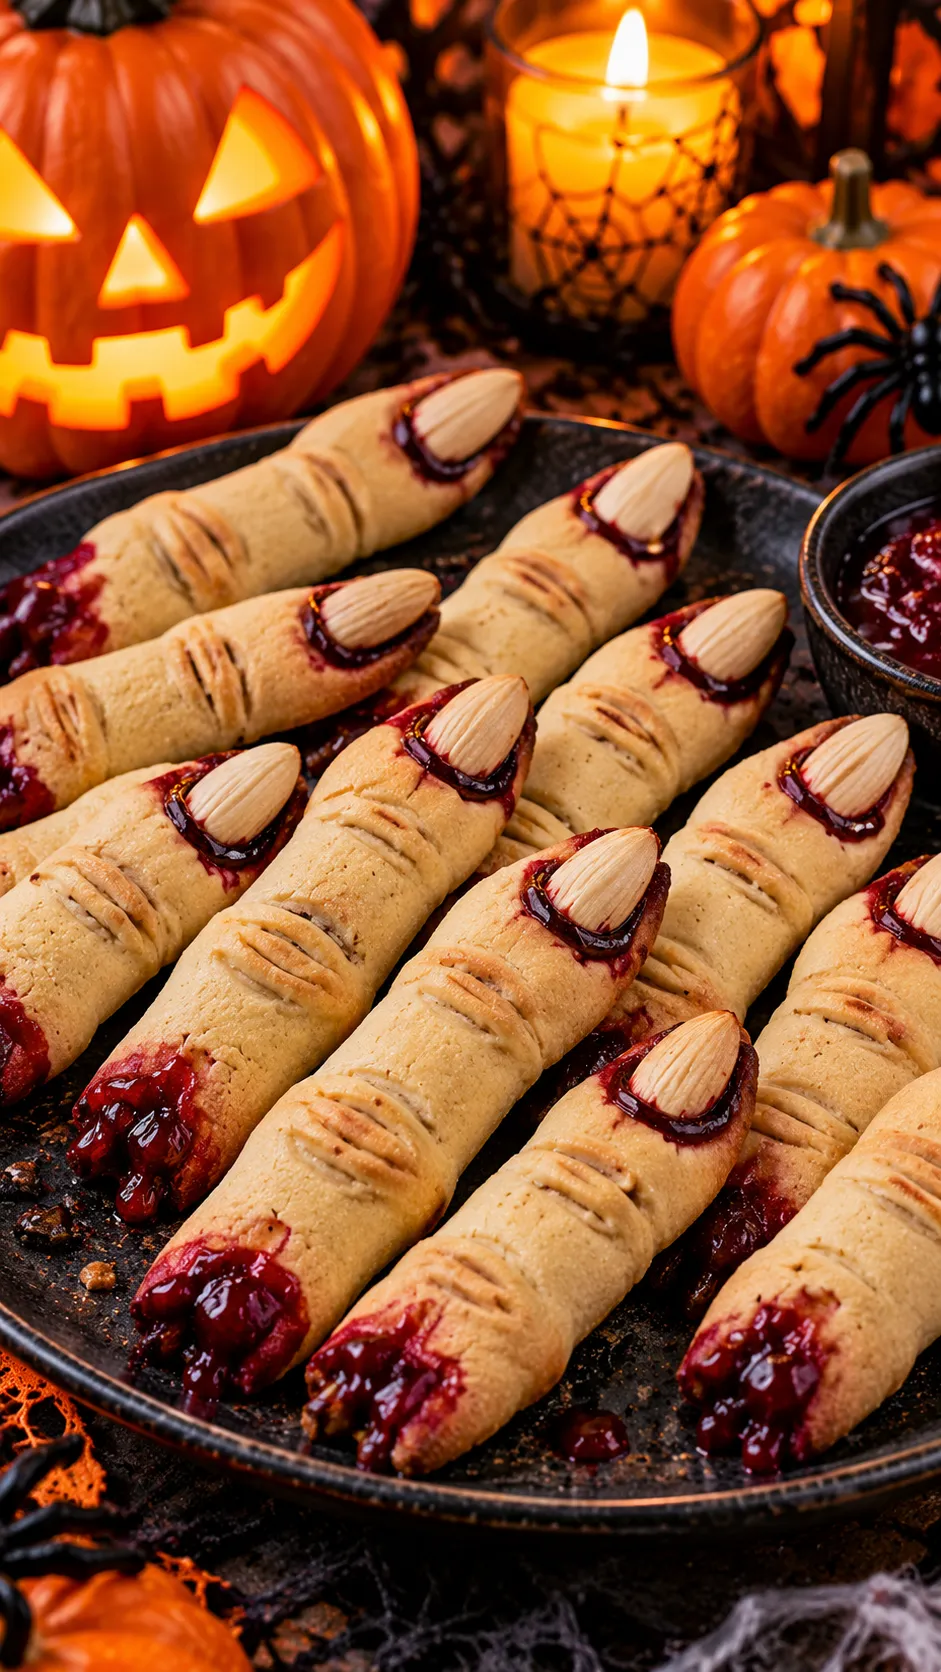
Buttery cookies shaped like witch fingers with almond “fingernails.” These always get the biggest double-takes. I once served them and watched someone hesitate before biting one. The reaction photos alone make them worth it.
Ingredients
- 1 cup butter, softened
- 1 cup powdered sugar
- 1 egg
- 1 teaspoon almond extract
- 1 teaspoon vanilla extract
- 2¾ cups all-purpose flour
- 1 teaspoon baking powder
- ½ teaspoon salt
- Whole blanched almonds
- Red gel food coloring or seedless raspberry jam
Step-by-Step Instructions
- Cream the butter and powdered sugar until light. Beat in the egg and both extracts.
- Mix in the flour, baking powder, and salt until a soft dough forms.
- Shape tablespoon-sized pieces into long, thin “fingers.” Use a knife to add knuckle lines. Press an almond into one end for the fingernail.
- Bake at 325°F for 20–25 minutes until lightly golden.
- While still warm, brush a tiny bit of red gel or jam around the almond to look like blood. Cool completely.
Why You’ll Love It?
They’re buttery, slightly almond-y, and pure Halloween theater. The “blood” detail is optional but highly recommended for maximum effect. These reheat well and somehow taste even better the next day.
4. Pumpkin Patch Dirt Cups
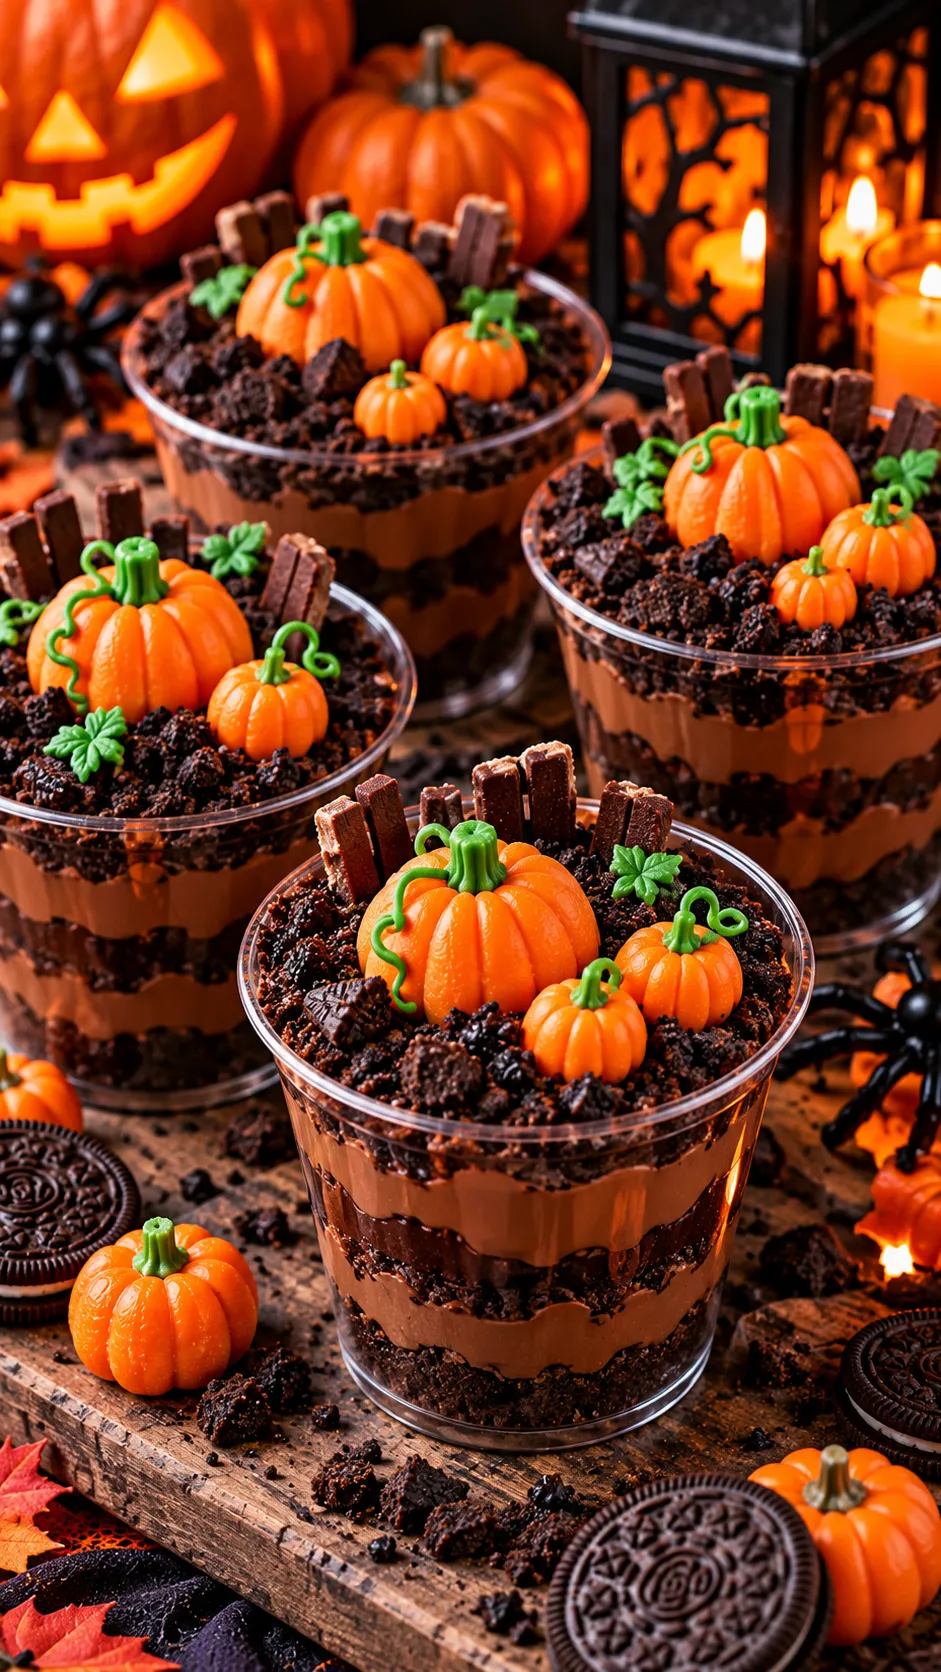
Chocolate pudding, crushed cookies, and gummy worms turned into a mini pumpkin patch. I make these every year because the kids can assemble them themselves and still feel like they “cooked.”
Ingredients
- 1 package instant chocolate pudding mix
- 2 cups cold milk
- 1 package chocolate sandwich cookies, crushed
- Gummy worms
- Candy pumpkins or orange candy melts
- Whipped cream (optional)
Step-by-Step Instructions
- Whisk the pudding mix with cold milk until thickened, about 2 minutes. Chill 5 minutes.
- Spoon a layer of pudding into clear cups.
- Top with a thick layer of crushed chocolate cookies to look like dirt.
- Press a few gummy worms so they peek out of the “dirt.”
- Add candy pumpkins on top and a dollop of whipped cream if you want extra fluff. Serve cold.
Why You’ll Love It?
Zero baking. Zero stress. Maximum kid involvement. The combination of creamy pudding and crunchy cookies hits every texture craving. These look way more impressive than the five minutes they take.
5. No-Bake Candy Corn Fudge
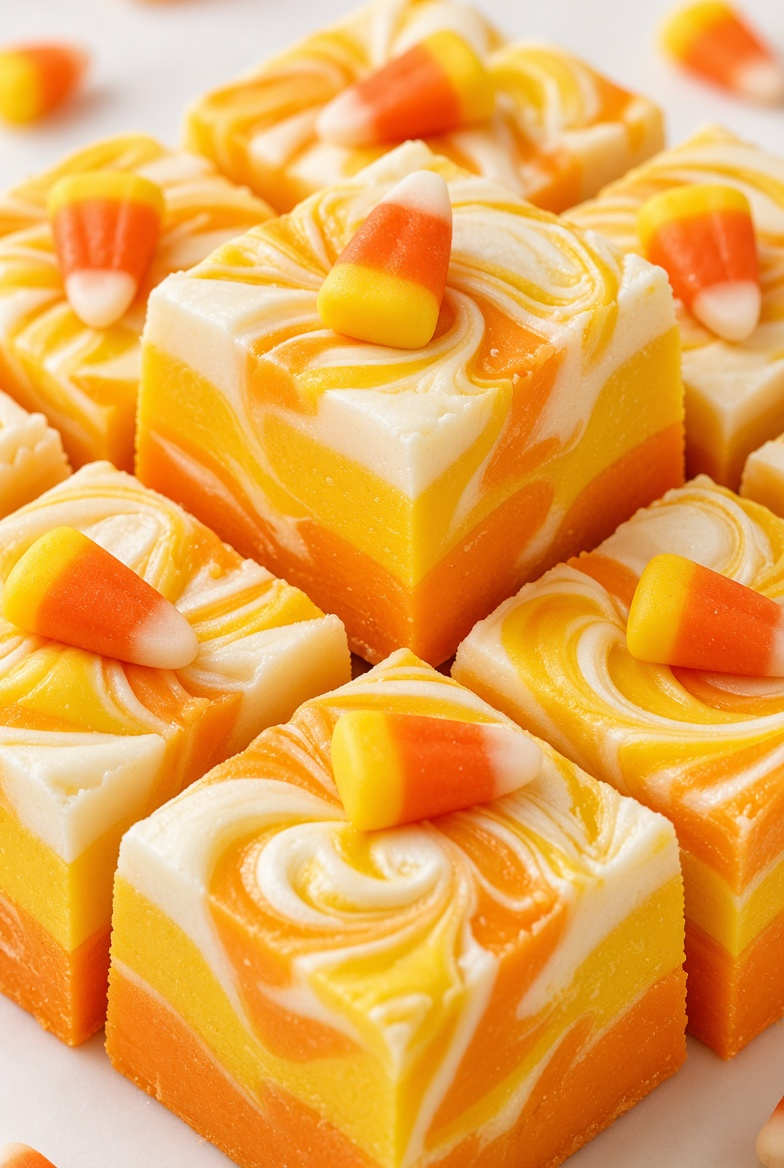
Fudge that actually tastes like candy corn without the weird waxy aftertaste. I was skeptical the first time. Now I hide half the pan from myself every October.
Ingredients
- 3 cups white chocolate chips
- 1 can (14 oz) sweetened condensed milk
- 1 teaspoon vanilla extract
- Yellow and orange gel food coloring
- Extra candy corn for topping
Step-by-Step Instructions
- Line an 8×8 pan with parchment paper.
- Melt the white chocolate chips with the sweetened condensed milk in the microwave, stirring every 30 seconds until smooth. Stir in vanilla.
- Divide the mixture into three bowls. Leave one white, tint one yellow, and one orange.
- Drop spoonfuls of each color into the pan and swirl gently with a knife.
- Press a few candy corn pieces on top. Chill 2 hours until firm, then cut into squares.
Why You’ll Love It?
It sets up like a dream and tastes like pure autumn. The swirl looks bakery-level but takes thirty seconds. Perfect when you need something special that comes together while the kids are still deciding on costumes.
6. Monster Eye Cookies
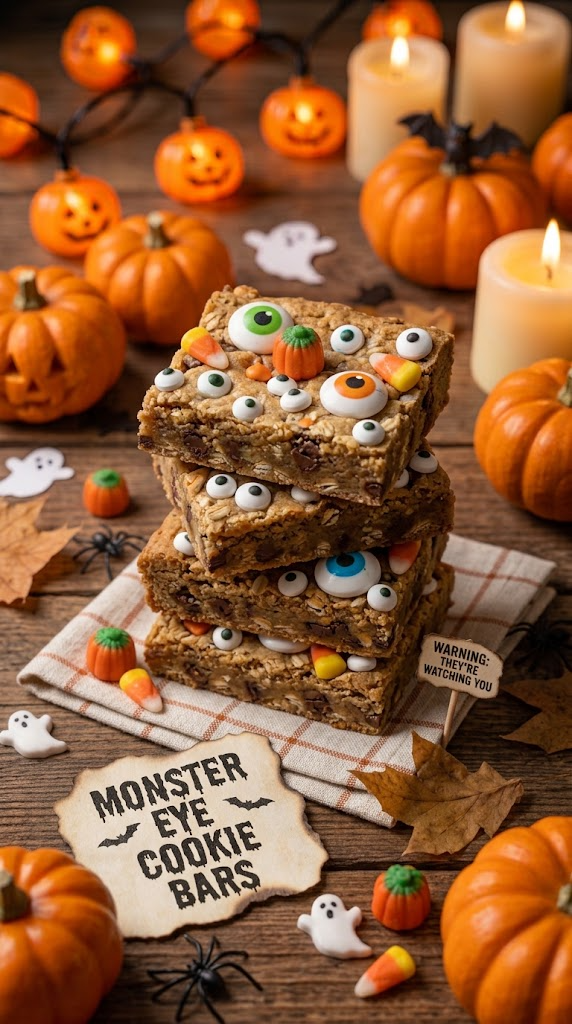
Soft sugar cookies covered in colorful frosting and candy eyes that stare back at you. Slightly unsettling. Extremely delicious. I make these when I want something portable that still feels special.
Ingredients
- 1 batch sugar cookie dough (or store-bought)
- 2 cups powdered sugar
- 2–3 tablespoons milk
- Gel food coloring (green, purple, orange)
- Candy eyes in various sizes
Step-by-Step Instructions
- Bake the sugar cookies according to your recipe or package and cool completely.
- Mix the powdered sugar with milk until you get a thick but spreadable frosting. Divide and tint with different colors.
- Frost each cookie with a generous layer of colored frosting.
- Immediately press on several candy eyes so they stick.
- Let the frosting set for 20 minutes before stacking or serving.
Why You’ll Love It?
They’re customizable, kid-friendly to decorate, and pure Halloween fun. The candy eyes make every cookie look different. These travel well and somehow stay neat even in little hands.
7. Bloody Red Velvet Cupcakes
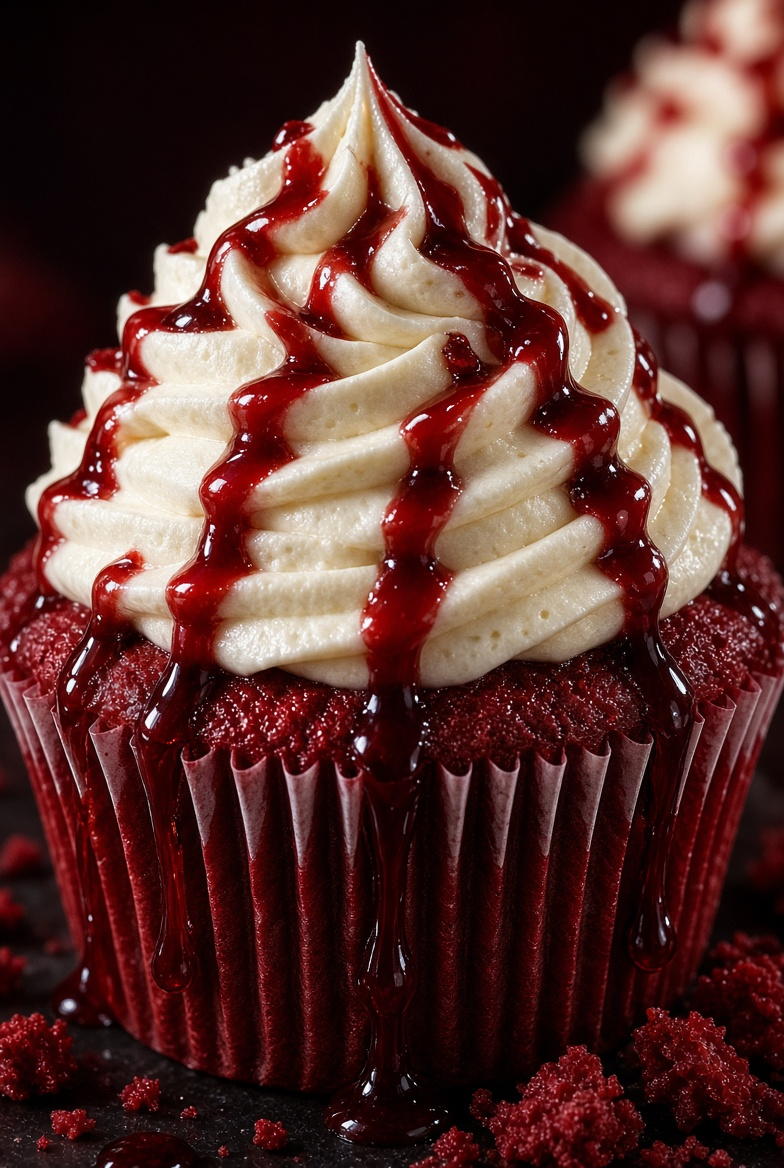
Classic red velvet with a dramatic “bloody” cream cheese drizzle. These feel fancy enough for adults and spooky enough for kids. I once brought them to a work party and the empty tray was the only evidence they ever existed.
Ingredients
- 1 box red velvet cake mix (plus eggs, oil, and water as directed)
- 8 oz cream cheese, softened
- ¼ cup butter, softened
- 2 cups powdered sugar
- 1 teaspoon vanilla extract
- Red gel food coloring or raspberry puree for the “blood” effect
Step-by-Step Instructions
- Bake the cupcakes according to the package and cool completely.
- Beat the cream cheese and butter until smooth. Add powdered sugar and vanilla and mix until fluffy.
- Frost each cupcake with a generous swirl of the cream cheese frosting.
- Thin a little red gel or raspberry puree with a drop of water and drizzle it over the tops so it drips like blood.
- Serve at room temperature for the best flavor and texture.
Why You’ll Love It?
The tangy frosting cuts the sweetness perfectly. The dripping “blood” looks dramatic but takes ten seconds. These are the ones the adults quietly claim while the kids go for the dirt cups.
8. Black Cat Chocolate Cookies
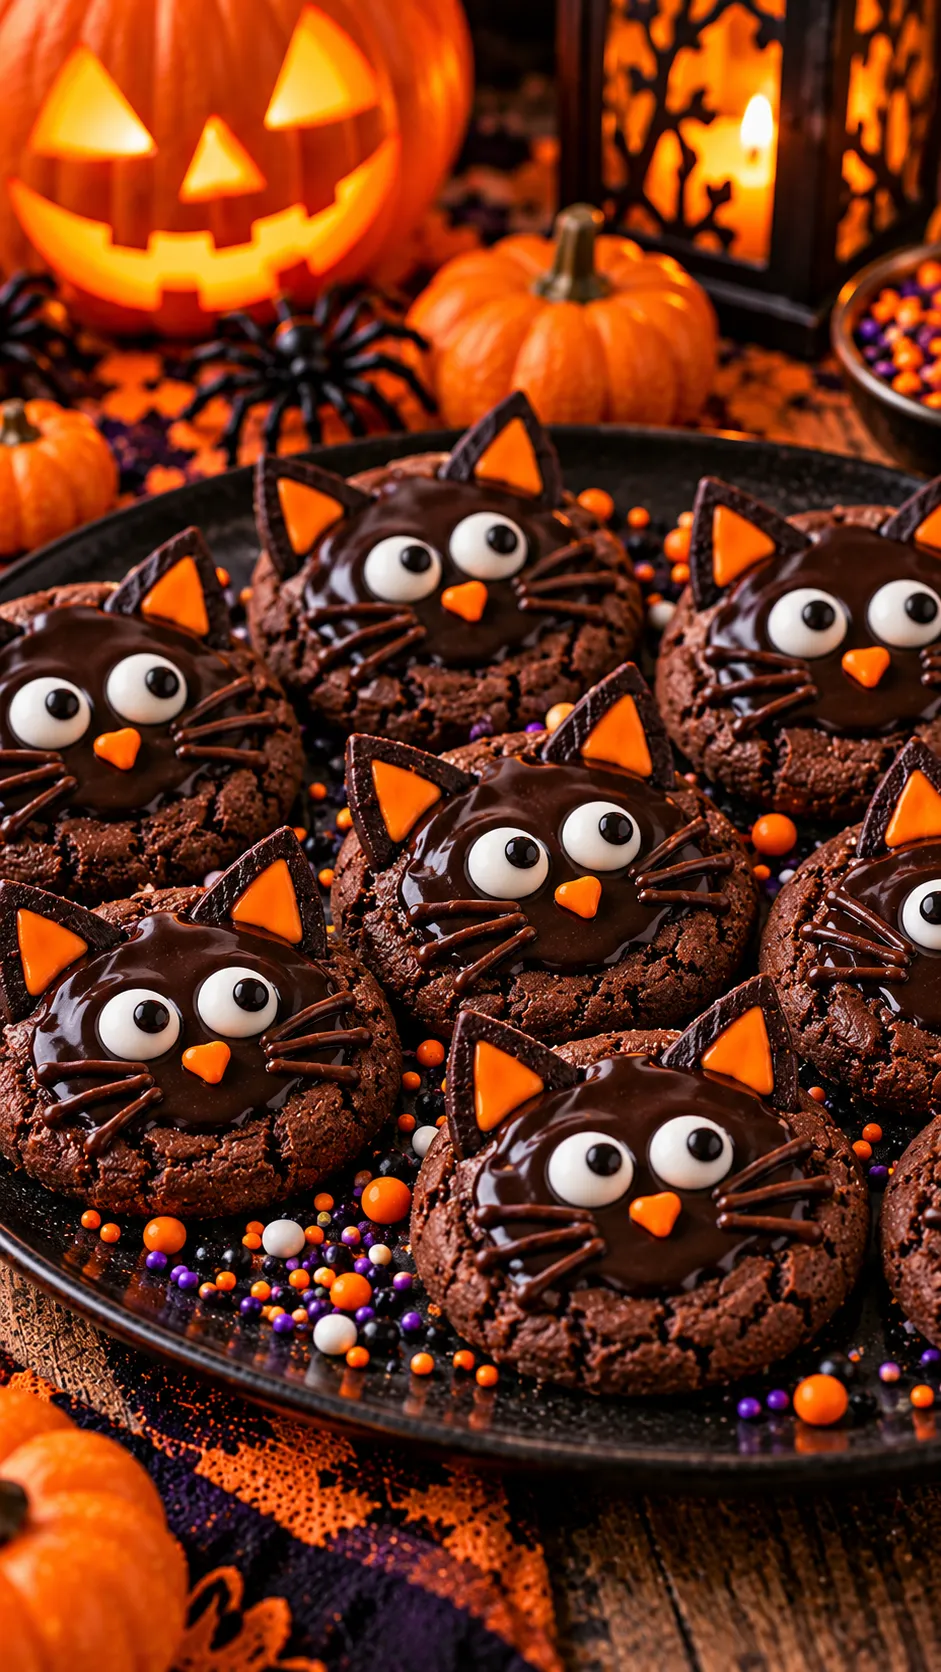
Dark chocolate cookies decorated as black cats with simple candy details. These look elegant and a little mysterious. I make them when I want something that feels a step above basic sugar cookies.
Ingredients
- 1 cup butter, softened
- 1½ cups sugar
- 2 eggs
- 2 teaspoons vanilla extract
- 2 cups all-purpose flour
- ¾ cup cocoa powder
- 1 teaspoon baking soda
- ½ teaspoon salt
- Candy eyes and black licorice or chocolate for ears and whiskers
Step-by-Step Instructions
- Cream the butter and sugar until light. Beat in the eggs and vanilla.
- Mix in the flour, cocoa, baking soda, and salt until a soft dough forms.
- Scoop tablespoon-sized balls onto a lined baking sheet and flatten slightly.
- Bake at 350°F for 9–11 minutes. Cool completely.
- Attach candy eyes and small pieces of licorice or chocolate for ears and whiskers using a dab of frosting.
Why You’ll Love It?
They’re rich, deeply chocolatey, and look sophisticated on a platter. The cat faces are simple once you do the first one. These pair perfectly with coffee for the adults.
9. Mummy Sugar Cookies
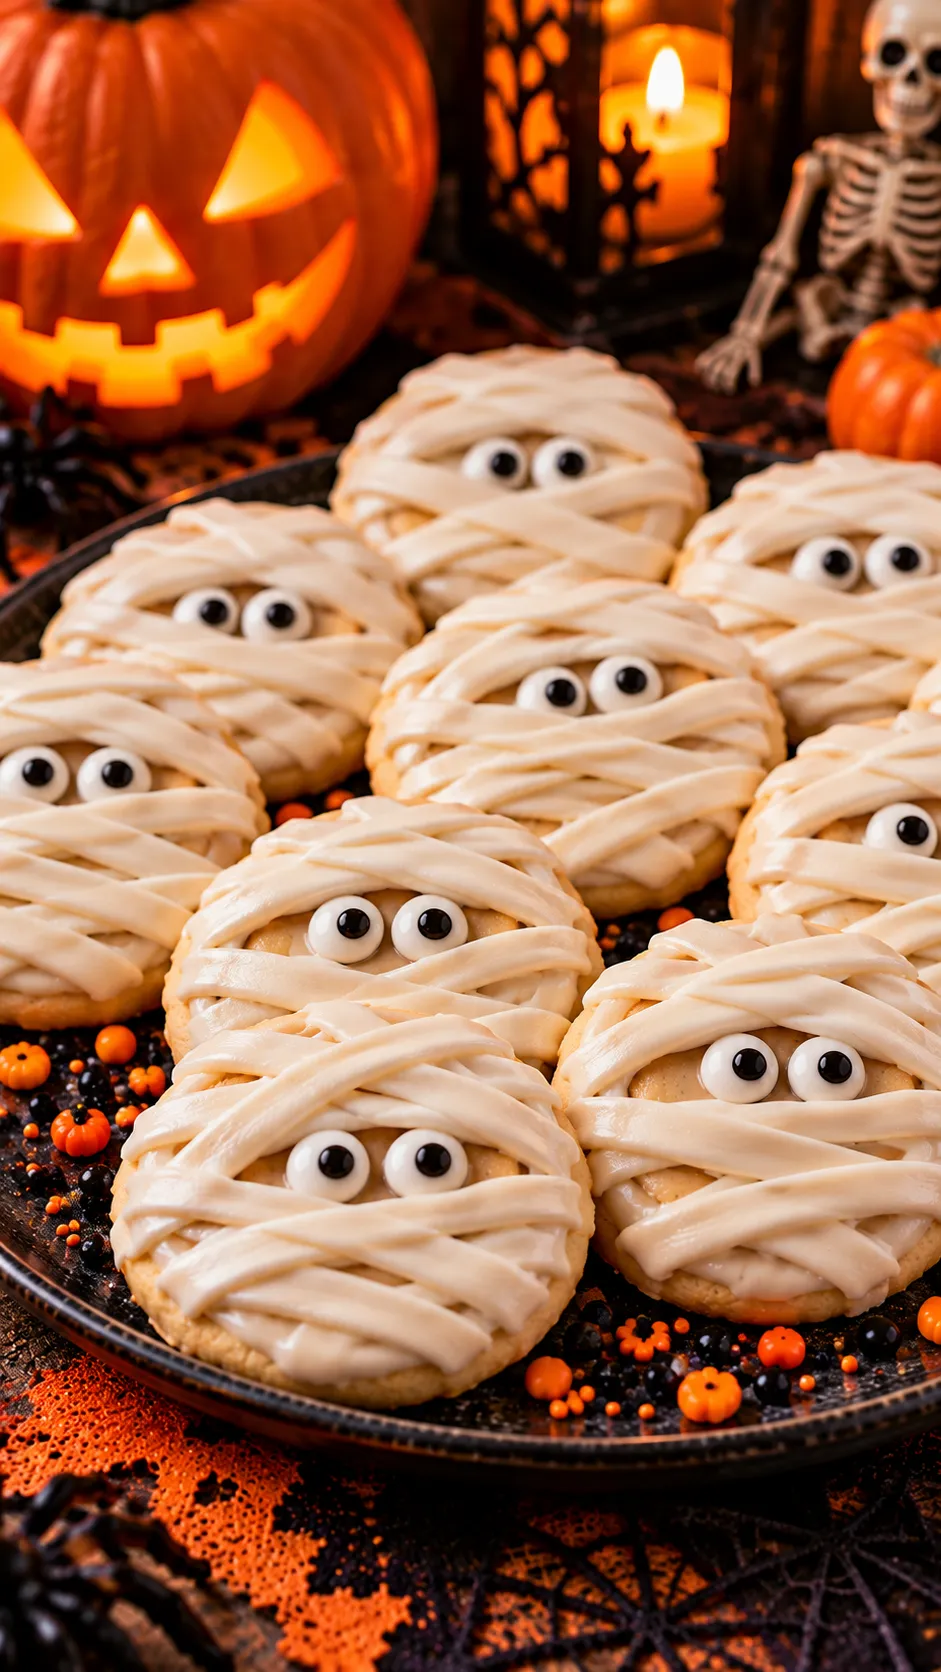
Soft sugar cookies wrapped in white frosting “bandages” with candy eyes. These are the ones kids always point at first. I keep the frosting thick so the bandages hold their shape.
Ingredients
- 1 batch sugar cookie dough
- 2 cups powdered sugar
- 3–4 tablespoons milk
- Candy eyes
- Optional: black gel for extra details
Step-by-Step Instructions
- Bake the sugar cookies and cool completely.
- Mix the powdered sugar with milk until thick and pipeable.
- Spoon the frosting into a zip-top bag and snip a small corner.
- Pipe horizontal “bandage” lines across each cookie, leaving a small gap near the top.
- Press two candy eyes into the gap while the frosting is still wet. Let set 15 minutes.
Why You’ll Love It?
They’re soft, sweet, and pure Halloween charm. The bandage design is forgiving—messy lines still look intentional. These are perfect for decorating with kids.
10. Caramel Apple Cookie Bars
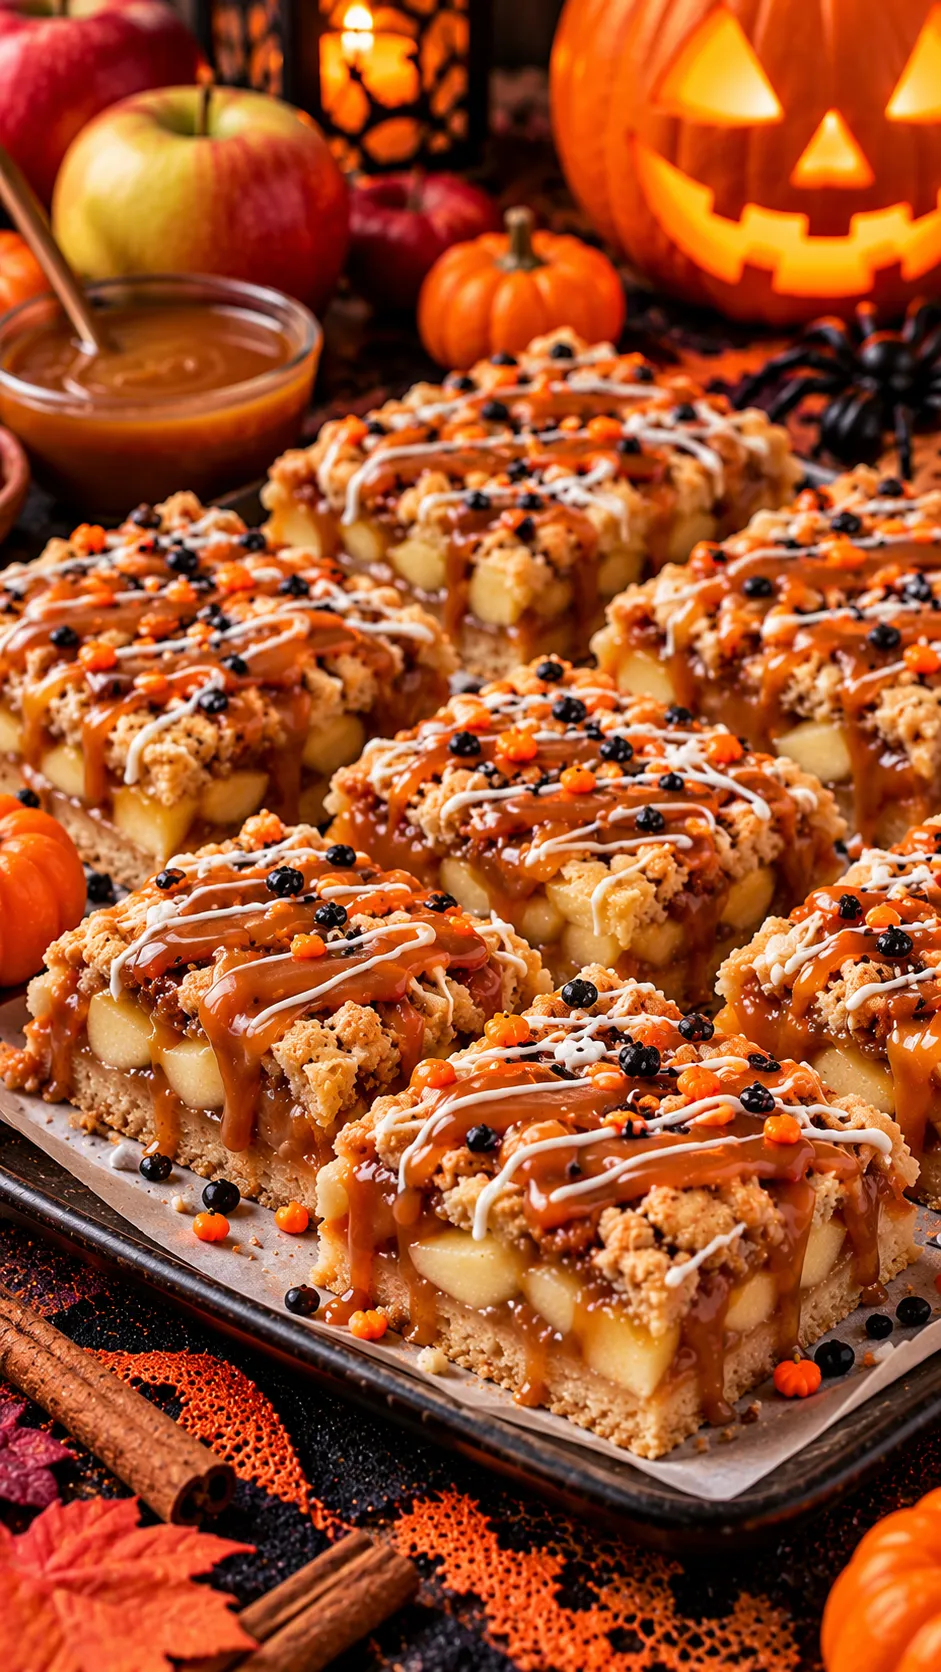
Chewy cookie bars loaded with apple pieces and caramel swirls. These feel like fall in dessert form and still fit the spooky theme when you top them with a few candy eyes or spider decorations.
Ingredients
- 1 cup butter, melted
- 1 cup brown sugar
- ½ cup granulated sugar
- 2 eggs
- 2 teaspoons vanilla extract
- 2½ cups all-purpose flour
- 1 teaspoon baking soda
- ½ teaspoon salt
- 1½ cups diced apples
- ½ cup caramel sauce
- Optional: candy eyes or chocolate spiders for topping
Step-by-Step Instructions
- Mix the melted butter with both sugars. Beat in the eggs and vanilla.
- Stir in the flour, baking soda, and salt until just combined. Fold in the diced apples.
- Press the dough into a greased 9×13 pan. Drizzle caramel sauce over the top and swirl lightly with a knife.
- Bake at 350°F for 25–30 minutes until golden and set. Cool completely.
- Cut into bars and add candy eyes or chocolate spiders if you want extra spooky flair.
Why You’ll Love It?
They’re chewy, apple-forward, and the caramel keeps everything moist. The optional toppings turn them fully Halloween without extra work. These travel well and taste even better the next day.
There you have it—10 spooky Halloween desserts and cookies everyone will love that look impressive, taste fantastic, and leave you free to actually enjoy the party. Mix a few no-bake options with the baked ones, set everything out on a big board, and watch people hover.
The real win? Most of these use pantry staples and come together faster than it takes to argue about whose costume is better. Start with the spiderweb brownies and the witch fingers—those two always go fastest.
Now go preheat something (or don’t, if you’re staying no-bake) and claim your title as the Halloween dessert legend. Your guests (and your future self) will thank you.