
Halloween hits different when the treats are this easy. You’re not here for a three-hour baking marathon that leaves your kitchen looking like a crime scene. You want quick, cute, crowd-pleasing desserts that look like you tried… without actually trying that hard.
These easy Halloween treats and desserts deliver maximum spook with minimum effort. Think no-bake options, pantry staples, and a few clever tricks that make store-bought stuff look homemade. I tested every single one on a random Tuesday because, honestly, who waits for October 31 to eat candy corn fudge?
Ready to become the person everyone texts “recipe please”? Let’s go.
1. No-Bake Spiderweb Brownies
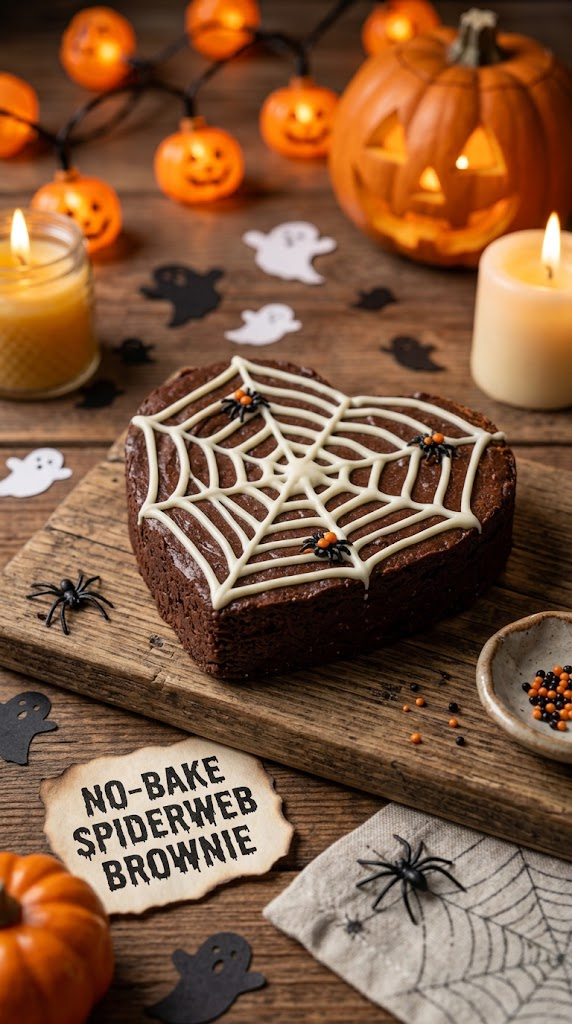
These brownies look fancy but take almost zero talent. I once made them for a last-minute office party and people actually asked if I ordered them from a bakery. Nope. Just me, a microwave, and pure chaos energy.
Ingredients
- 1 box fudge brownie mix (plus whatever the box calls for)
- 1 cup white chocolate chips
- 1 tablespoon coconut oil
- Black gel food coloring (or black decorating gel)
- Mini chocolate chips or candy eyes for the spiders
Step-by-Step Instructions
- Bake the brownies according to the box, but pull them out 2 minutes early so they stay fudgy. Let them cool completely in the pan.
- Melt the white chocolate chips with the coconut oil in 20-second bursts, stirring until smooth.
- Spoon the melted white chocolate into a zip-top bag, snip a tiny corner, and pipe concentric circles across the top of the brownies.
- Drag a toothpick from the center outward to create the web look. Drop a few mini chocolate chips or candy eyes on top for instant spiders.
- Chill for 15 minutes so the chocolate sets, then slice and serve.
Why You’ll Love It
They taste like regular brownies (because they are) but look like you hired a pastry chef. The web design is weirdly forgiving—mess up a line and it still looks intentional. IMO these disappear faster than any other treat on the table.
2. Ghost Banana Pops
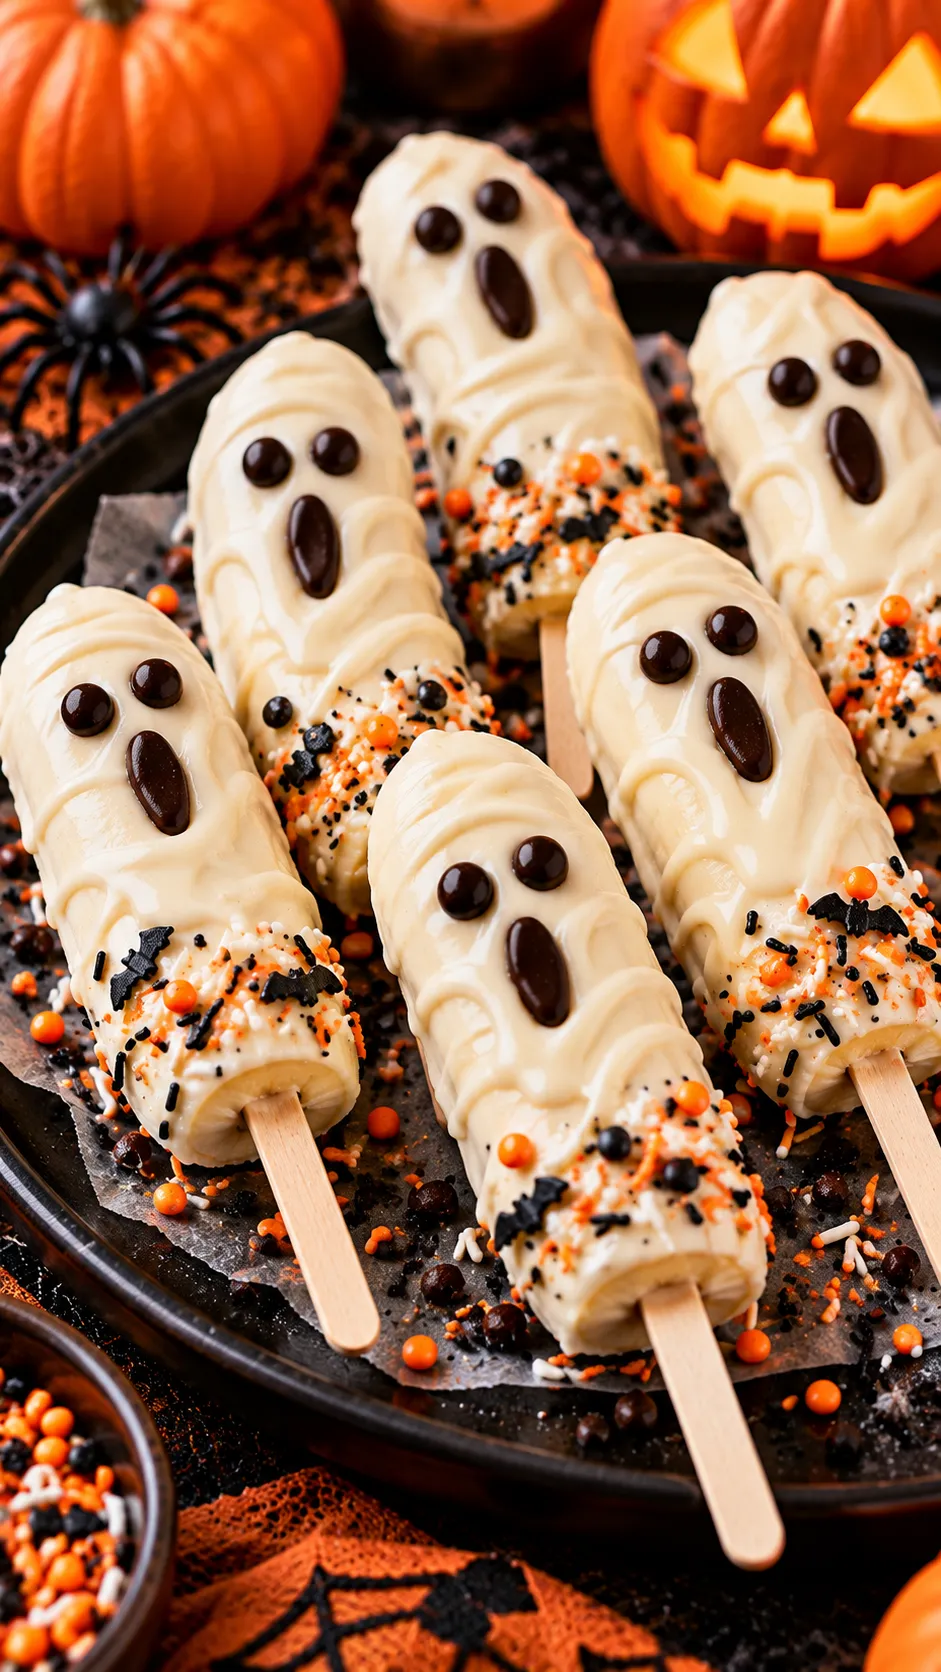
Frozen bananas dressed as ghosts. That’s it. I started making these when my niece declared regular frozen bananas “boring.” Ten minutes later she was screaming about how cute they were. Kids are easy to impress, but adults steal these too.
Ingredients
- 4 ripe but firm bananas
- 1 cup white chocolate chips or white candy melts
- Mini chocolate chips or black decorating gel for eyes and mouth
- Popsicle sticks or wooden skewers
Step-by-Step Instructions
- Peel the bananas and cut each one in half crosswise. Insert a popsicle stick into the cut end.
- Freeze the bananas on a parchment-lined tray for at least 1 hour (overnight is even better).
- Melt the white chocolate until smooth. Dip each frozen banana, letting excess drip off.
- Immediately add two mini chocolate chips for eyes and a tiny curved line for the mouth.
- Place back on the tray and freeze until the chocolate hardens, about 10 minutes.
Why You’ll Love It?
They’re basically healthy-ish until you cover them in chocolate, and they stay frozen long enough to survive a party. The “ghost” face is so simple even a five-year-old can help. Who needs fancy molds when a banana already looks vaguely ghost-shaped?
3. Pumpkin Spice Muddy Buddies
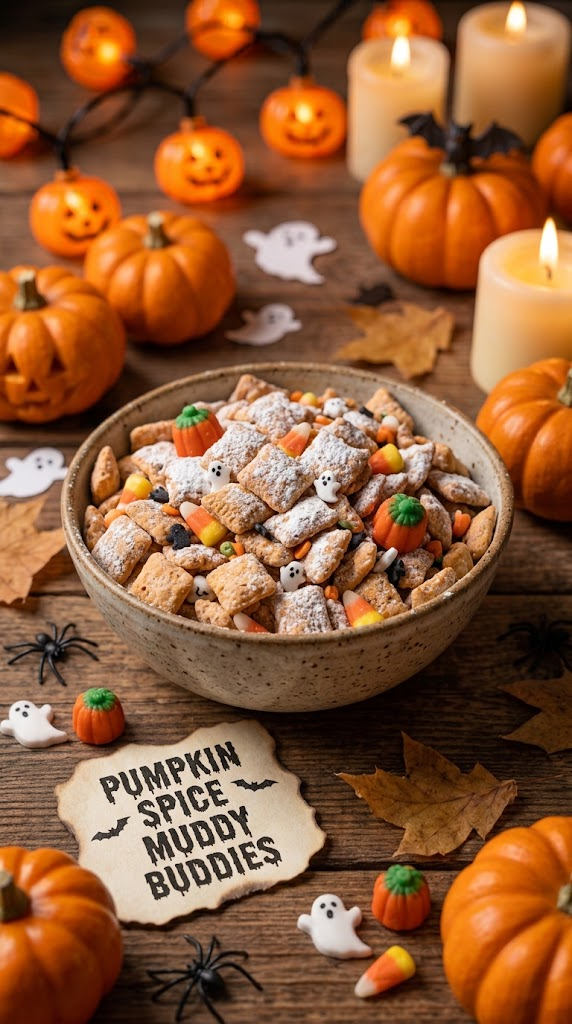
This is the snack mix that makes people hover around the bowl like moths to a flame. I brought a huge batch to a potluck once and came home with an empty container and three recipe requests. Worth it.
Ingredients
- 9 cups Chex cereal (any variety)
- 1 cup white chocolate chips
- ½ cup creamy peanut butter
- ¼ cup butter
- 1 teaspoon vanilla extract
- 1½ cups powdered sugar
- 2 teaspoons pumpkin pie spice
- ½ teaspoon cinnamon
- Orange and black sprinkles (optional but highly recommended)
Step-by-Step Instructions
- Pour the cereal into a giant mixing bowl.
- Melt the white chocolate, peanut butter, and butter together in the microwave, stirring every 30 seconds until smooth. Stir in the vanilla.
- Pour the mixture over the cereal and gently toss until every piece is coated.
- In a separate bowl, mix the powdered sugar, pumpkin pie spice, and cinnamon.
- Add the coated cereal to a large zip-top bag with the sugar mixture and shake like you mean it. Spread on a baking sheet to cool, then toss with sprinkles if you’re feeling festive.
Why You’ll Love It?
It’s sweet, spicy, crunchy, and completely addictive. The pumpkin spice sneaks up on you in the best way. Make a double batch because this stuff vanishes faster than free candy.
4. Monster Eye Cookie Bars
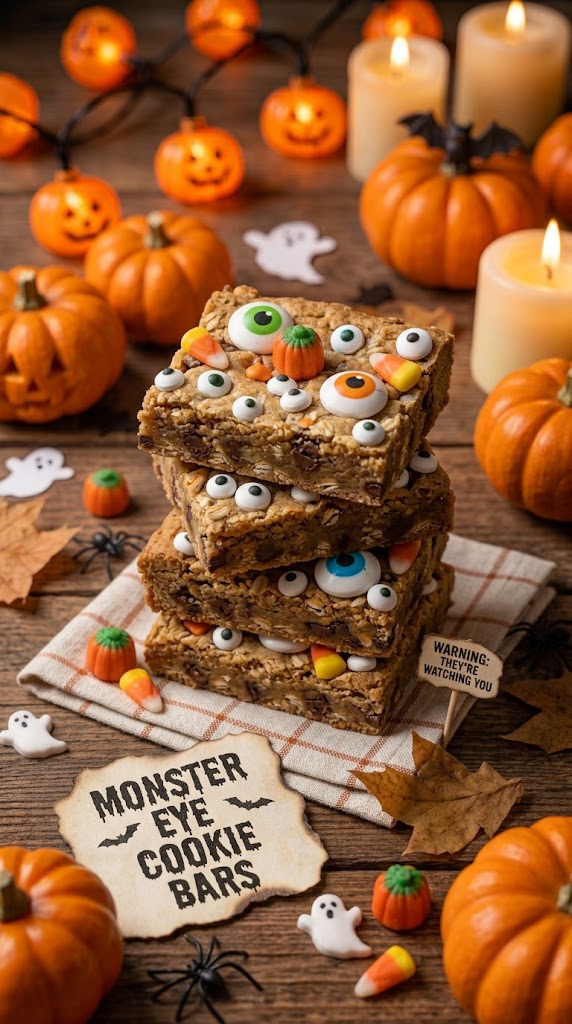
Cookie bars with candy eyes staring back at you. Slightly unsettling. Extremely delicious. I made these for a movie night and we spent more time naming the monsters than watching the film. Peak Halloween energy.
Ingredients
- 1 package refrigerated sugar cookie dough
- ½ cup mini chocolate chips
- 1 cup candy eyes (various sizes)
- Green or purple food coloring gel (optional)
- ½ cup white chocolate chips for drizzle
Step-by-Step Instructions
- Press the cookie dough into a greased 9×13 pan. Sprinkle mini chocolate chips on top and lightly press them in.
- Bake at 350°F for 18–22 minutes until golden. Let cool for 10 minutes.
- While still warm, press candy eyes all over the surface so they stick.
- Melt the white chocolate and tint it green or purple if you want extra monster vibes. Drizzle over the bars.
- Cool completely, then cut into squares.
Why You’ll Love It?
Zero rolling, zero chilling, zero stress. The candy eyes make every bar look different, which is half the fun. They’re soft, chewy, and just the right amount of creepy-cute.
5. 5-Minute Candy Corn Fudge
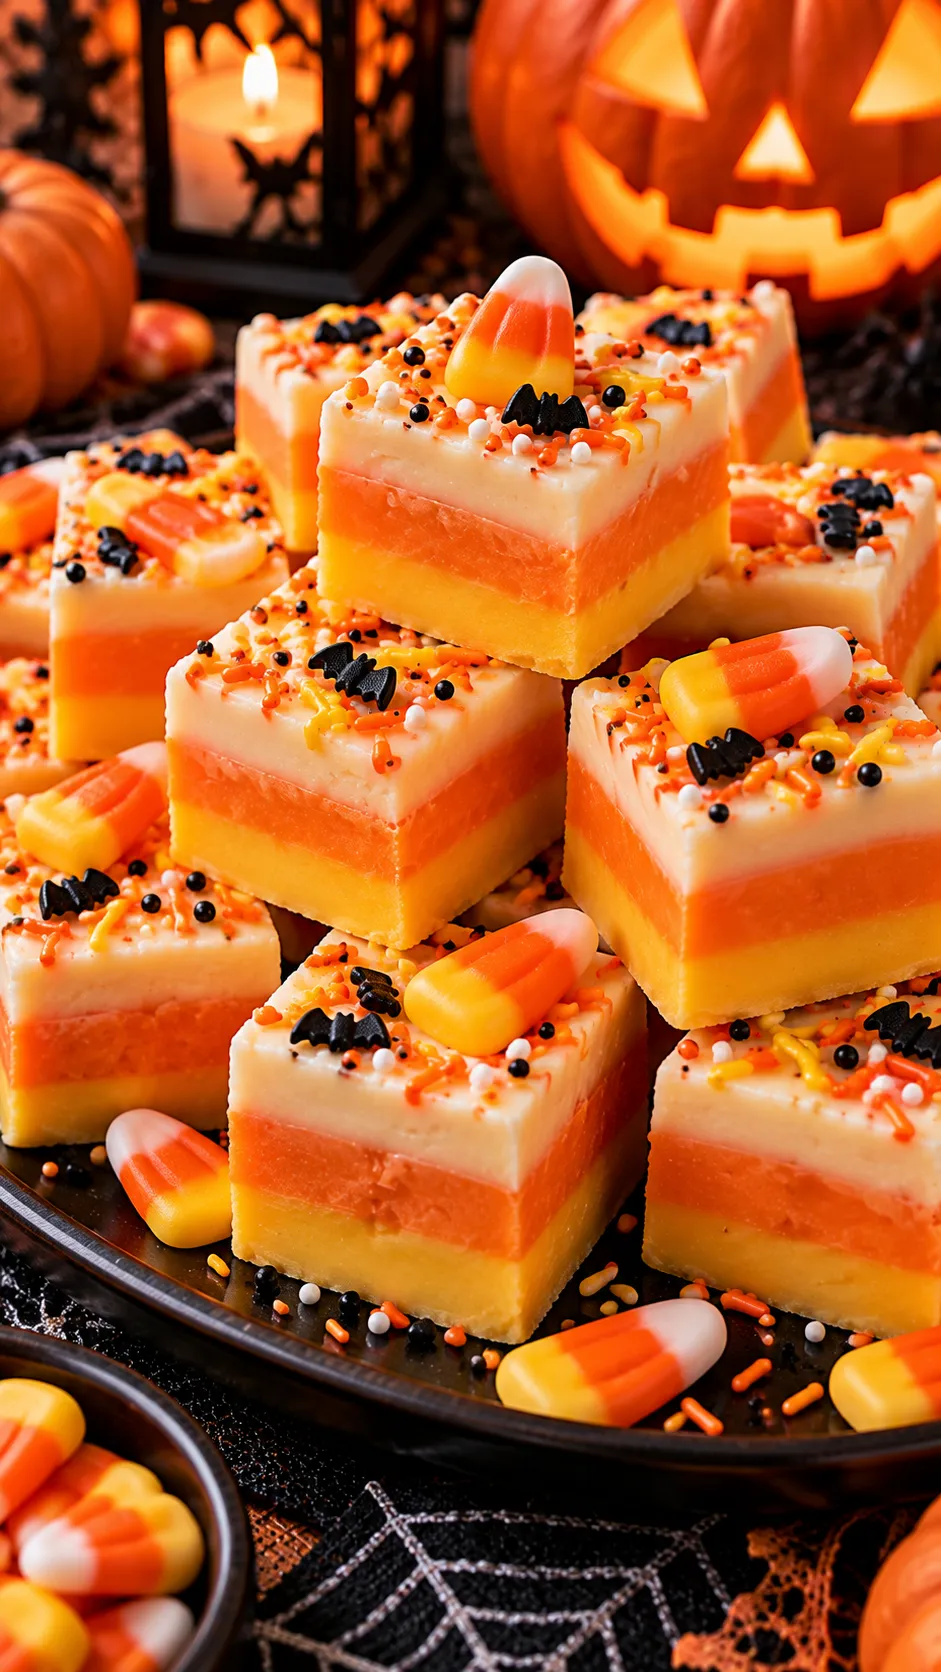
Fudge that tastes like candy corn without the weird waxy aftertaste. I was skeptical until I tried it. Now I make it every year and hide half the pan from myself.
Ingredients
- 3 cups white chocolate chips
- 1 can (14 oz) sweetened condensed milk
- 1 teaspoon vanilla extract
- Yellow and orange gel food coloring
- Extra candy corn for topping
Step-by-Step Instructions
- Line an 8×8 pan with parchment paper.
- Melt the white chocolate chips with the sweetened condensed milk in the microwave, stirring every 30 seconds until completely smooth. Stir in vanilla.
- Divide the mixture into three bowls. Leave one white, tint one yellow, and one orange.
- Drop spoonfuls of each color into the prepared pan, then swirl gently with a knife for a marbled effect.
- Press a few candy corn pieces on top. Chill for 2 hours until firm, then cut into squares.
Why You’ll Love It?
It sets up like a dream and tastes like autumn in candy form. The swirl looks impressive but takes about thirty seconds. Perfect for when you need something that looks bakery-level but comes together while the kids are still in costume.
6. Witch Finger Cookies
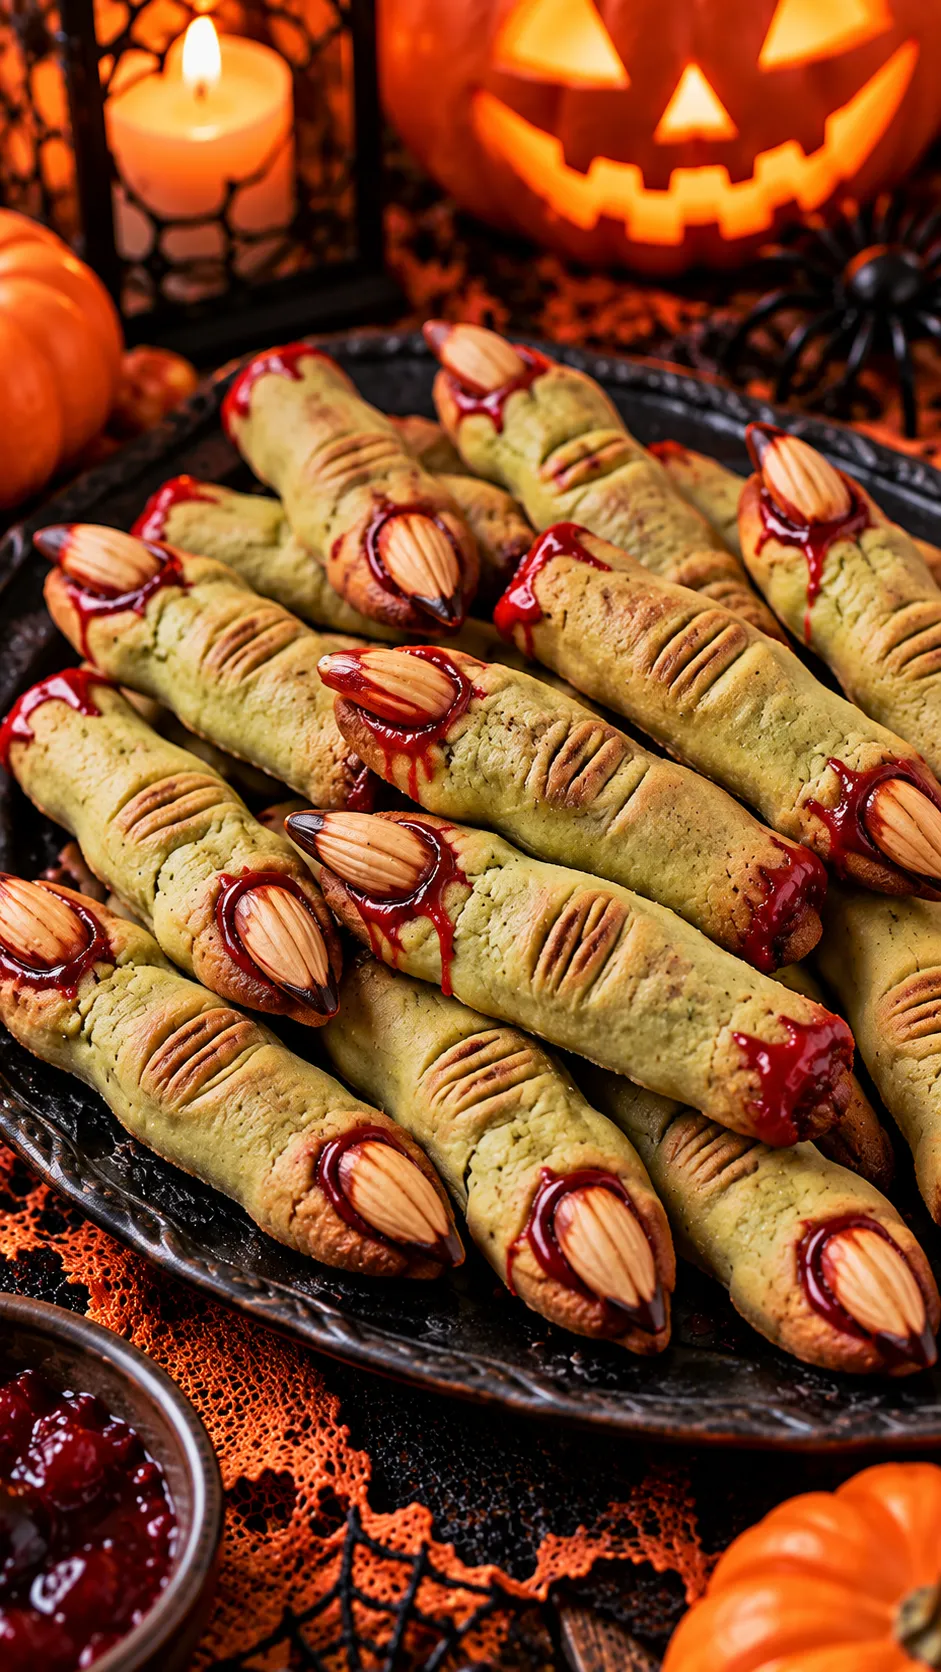
These look like actual witch fingers and somehow still taste amazing. The almond “fingernail” is the finishing touch that makes people do a double take. I once served them at a party and watched someone hesitate before biting one. Worth every second of the reaction.
Ingredients
- 1 cup butter, softened
- 1 cup powdered sugar
- 1 egg
- 1 teaspoon almond extract
- 1 teaspoon vanilla extract
- 2¾ cups all-purpose flour
- 1 teaspoon baking powder
- ½ teaspoon salt
- Whole blanched almonds
- Red gel food coloring or seedless raspberry jam
Step-by-Step Instructions
- Cream the butter and powdered sugar until light. Beat in the egg and both extracts.
- Mix in the flour, baking powder, and salt until a soft dough forms.
- Shape tablespoon-sized pieces into long, thin “fingers.” Use a knife to add knuckle lines. Press an almond into one end for the fingernail.
- Bake at 325°F for 20–25 minutes until lightly golden.
- While still warm, brush a tiny bit of red gel or jam around the almond to look like blood. Cool completely.
Why You’ll Love It?
They’re buttery, slightly almond-y, and pure Halloween theater. The “blood” detail is optional but highly recommended for maximum effect. These always get the biggest reaction photos.
7. Bloody Berry Parfaits
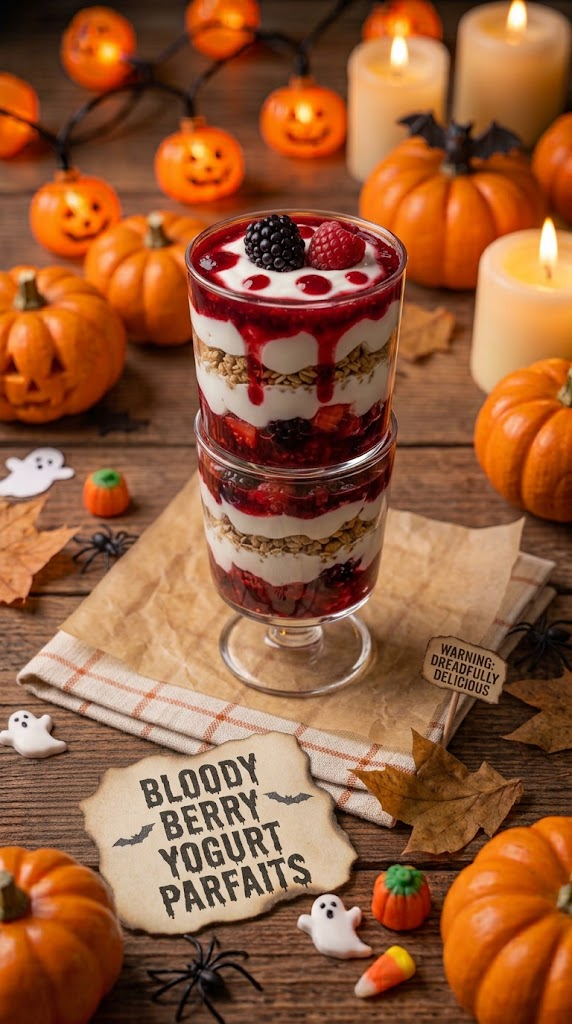
Layered yogurt, berries, and granola that looks dramatic in clear cups. I make these when I want something that feels slightly healthier but still fully committed to the Halloween theme. The “blood” is just berry puree. Genius, right?
Ingredients
- 2 cups Greek yogurt (vanilla or plain)
- 1 cup mixed berries (strawberries, raspberries, blackberries)
- 2 tablespoons honey or maple syrup
- 1 cup granola
- Extra whole berries and a drizzle of raspberry puree for the “blood” effect
Step-by-Step Instructions
- Blend half the berries with the honey until smooth to make a quick puree.
- Layer yogurt, granola, and remaining whole berries in clear cups or glasses.
- Spoon the berry puree down the sides of the glass so it drips like blood.
- Top with a few more berries and a final drizzle. Serve immediately or chill for up to 2 hours.
Why You’ll Love It?
It’s refreshing after all the chocolate and candy, yet still fully on-theme. The dripping puree looks way more dramatic than the effort required. Perfect for the one person at the party who claims they’re “cutting back.”
There you have it—seven easy Halloween treats and desserts that look impressive, taste fantastic, and won’t leave you covered in flour at midnight. Pick two or three, set them out with some candy, and watch people lose their minds.
The best part? Most of these come together in under 30 minutes of active work. That means more time for costumes, more time for the actual party, and more time for you to sneak an extra brownie while no one’s looking.
Happy haunting, and may your treats be the talk of the night.